In this post, we’re going to guide you through the process of removing the itel P662l P40 FRP with just a few clicks.
If you’ve performed a factory reset on your device and no longer remember your Google account credentials, don’t fret! Today, we’re sharing an easy-to-follow, step-by-step guide to bypass the itel P622l FRP lock.
So without further ado, let’s get started.
itel P662l P40 Short Overview
| Brand | itel |
| Model Number & Name | P622l , P40 |
| CPU Type | Unisoc SC9863A |
| Launch Date | 2023 |
How To Remove itel P662l P40 FRP
Prerequisite:
- Download and Install ADB driver.
- SamFw FRP Tool
Step By Step Process To Remove FRP:
- Open SamFw FRP Tool.
- Navigate to Android, click on Remove FRP, and Select New Method.

- Now, turn on your device and connect it to your PC via USB cable.
- Press Vol -, Vol +, and Power button simultaneously. A USB debugging popup will appear on the mobile screen asking for permission to Allow USB debugging.
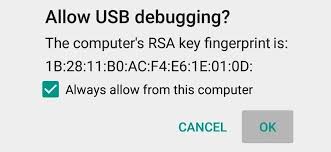
- Click on the Allow option and wait until the FRP removal successfully message appears on the SamFw dashboard.
- Your device will reboot after FRP removal.
- That’s it! Your device is now ready to use. If you encounter any problems while performing the FRP removal operation, let us know in the comment section.